Trapeziectomy with ligament reconstruction: aftercare advice
Information for patients from the Hand Therapy Service
You have undergone surgery to remove the small bone at the base of your thumb. Over the next few weeks you will be given advice by your therapist about your rehabilitation and the management of your hand. Getting a good result from this surgery is directly related to the effort you put into your rehabilitation, so please follow the advice and guidance below.
When can I return to my daily activities?
Recovery from this operation can be slow. It can often be three to six months before you can start normal heavy activities again.
Most patients are able to return to driving eight weeks after their operation. However this is a decision made by your surgeon or therapist.
When you can return to work depends on the job you do, and should be discussed with your surgeon or therapist.
Two to six weeks after your surgery
Two weeks after your operation your plaster will be replaced with a lighter thermoplastic splint. This splint must be worn continuously for a further four weeks, but may be removed each day for washing.
You may have dissolvable stitches, which will gradually fall out and disappear around two weeks after your surgery.
If you have non-dissolving sutures, these will be taken out either by your therapist at your follow-up appointment, or by the nurse at your GP surgery around two weeks after your surgery. If you have them removed by your GP practice nurse, you will need to book this appointment yourself.
Compared to non-smokers, smokers are more likely to have complications in tissue healing and infections after surgery. For free friendly support and medication to help you stop smoking, contact One You Kent Smokefree Call: 0300 123 1220 or email or visit their web site.
Elevating (raising) your hand is important to prevent swelling and stiffness in your fingers. Remember not to walk with your hand dangling down by your side, and do not sit with your hand held in your lap.
-
-1707295701.jpg) Example of good hand elevation while lying down
Example of good hand elevation while lying down -
-1707295705.jpg) Example of good hand elevation while sitting
Example of good hand elevation while sitting
Using a small amount of cream (such as E45 or Diprobase), massage your scar in deep circular motions. This helps prevent hypersensitivity, and the tendons becoming stuck to surrounding structures and causing problems with the movement of your hand.
Exercises: two to six weeks after your surgery
These exercises should not be painful, but may feel slightly uncomfortable.
Always exercise gently and slowly.
Remove your splint every three hours to do the exercises below.
1) Bend and straighten your shoulder and elbow 10 times.
2) Bend and straighten all fingers 10 times.
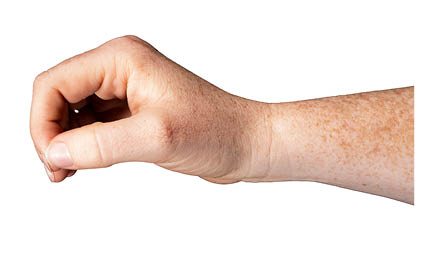
3) With your hand on its side, hold your fingers comfortably out of the way. Make small circles with your thumb for one minute.
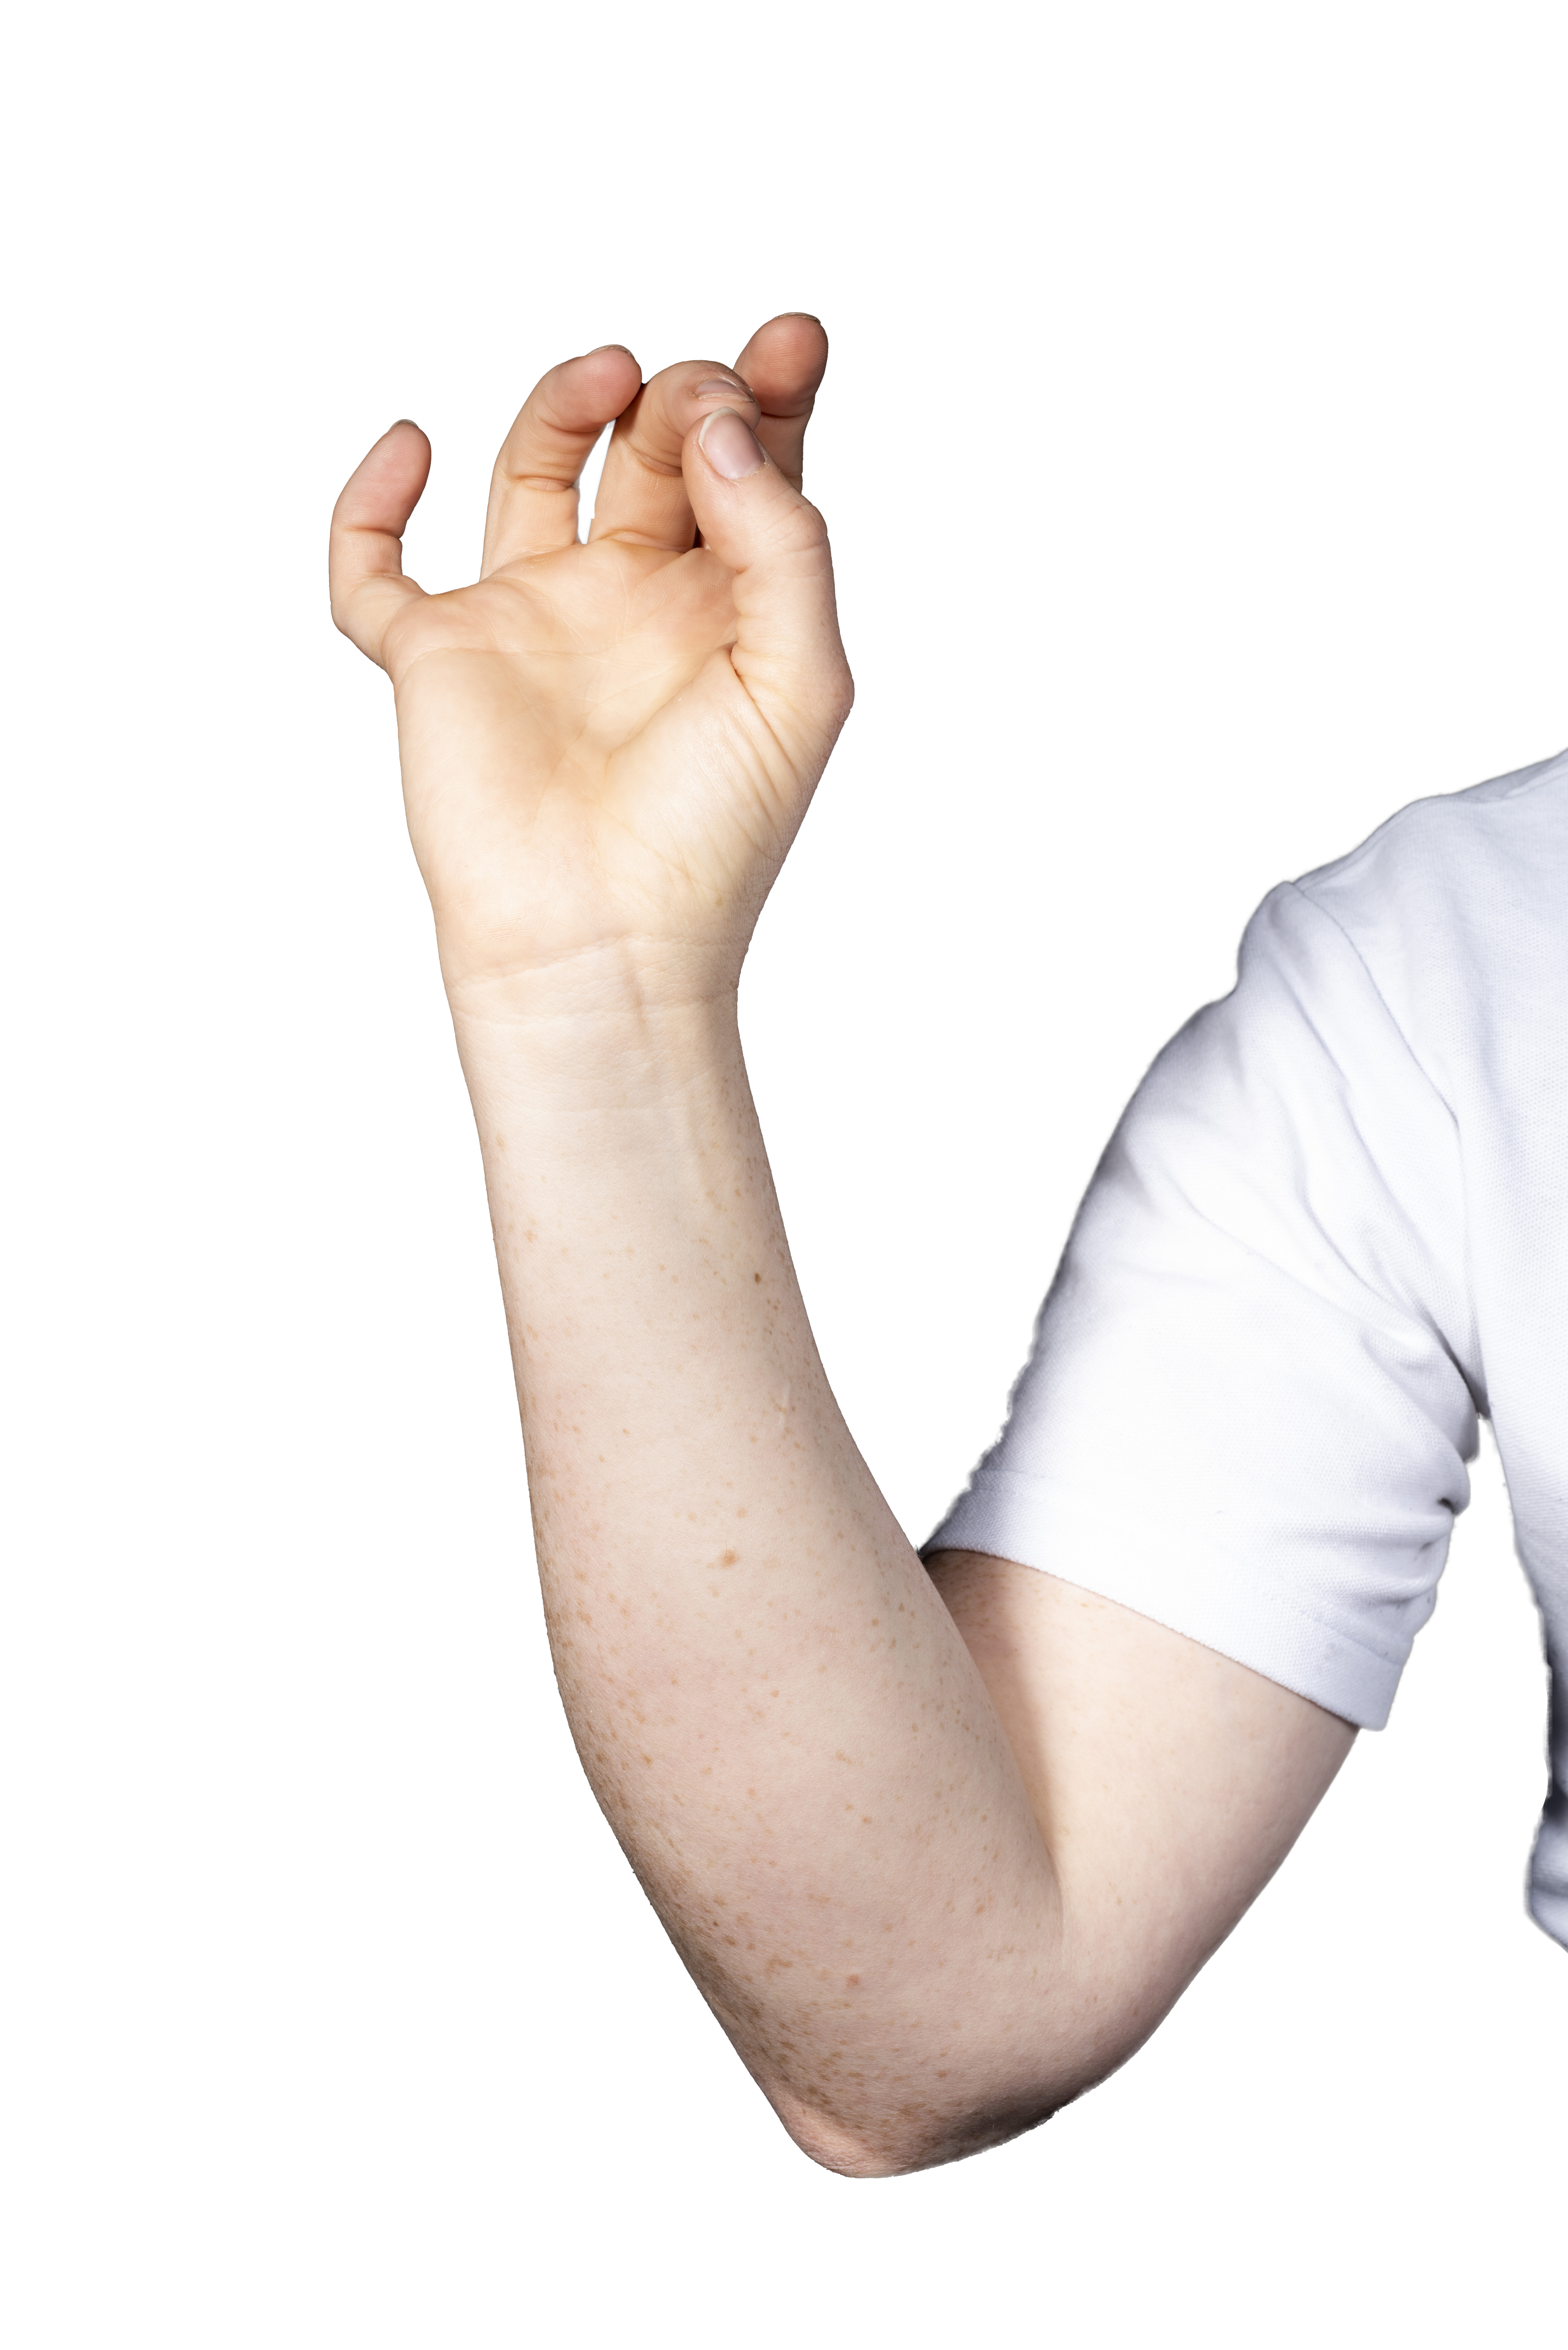
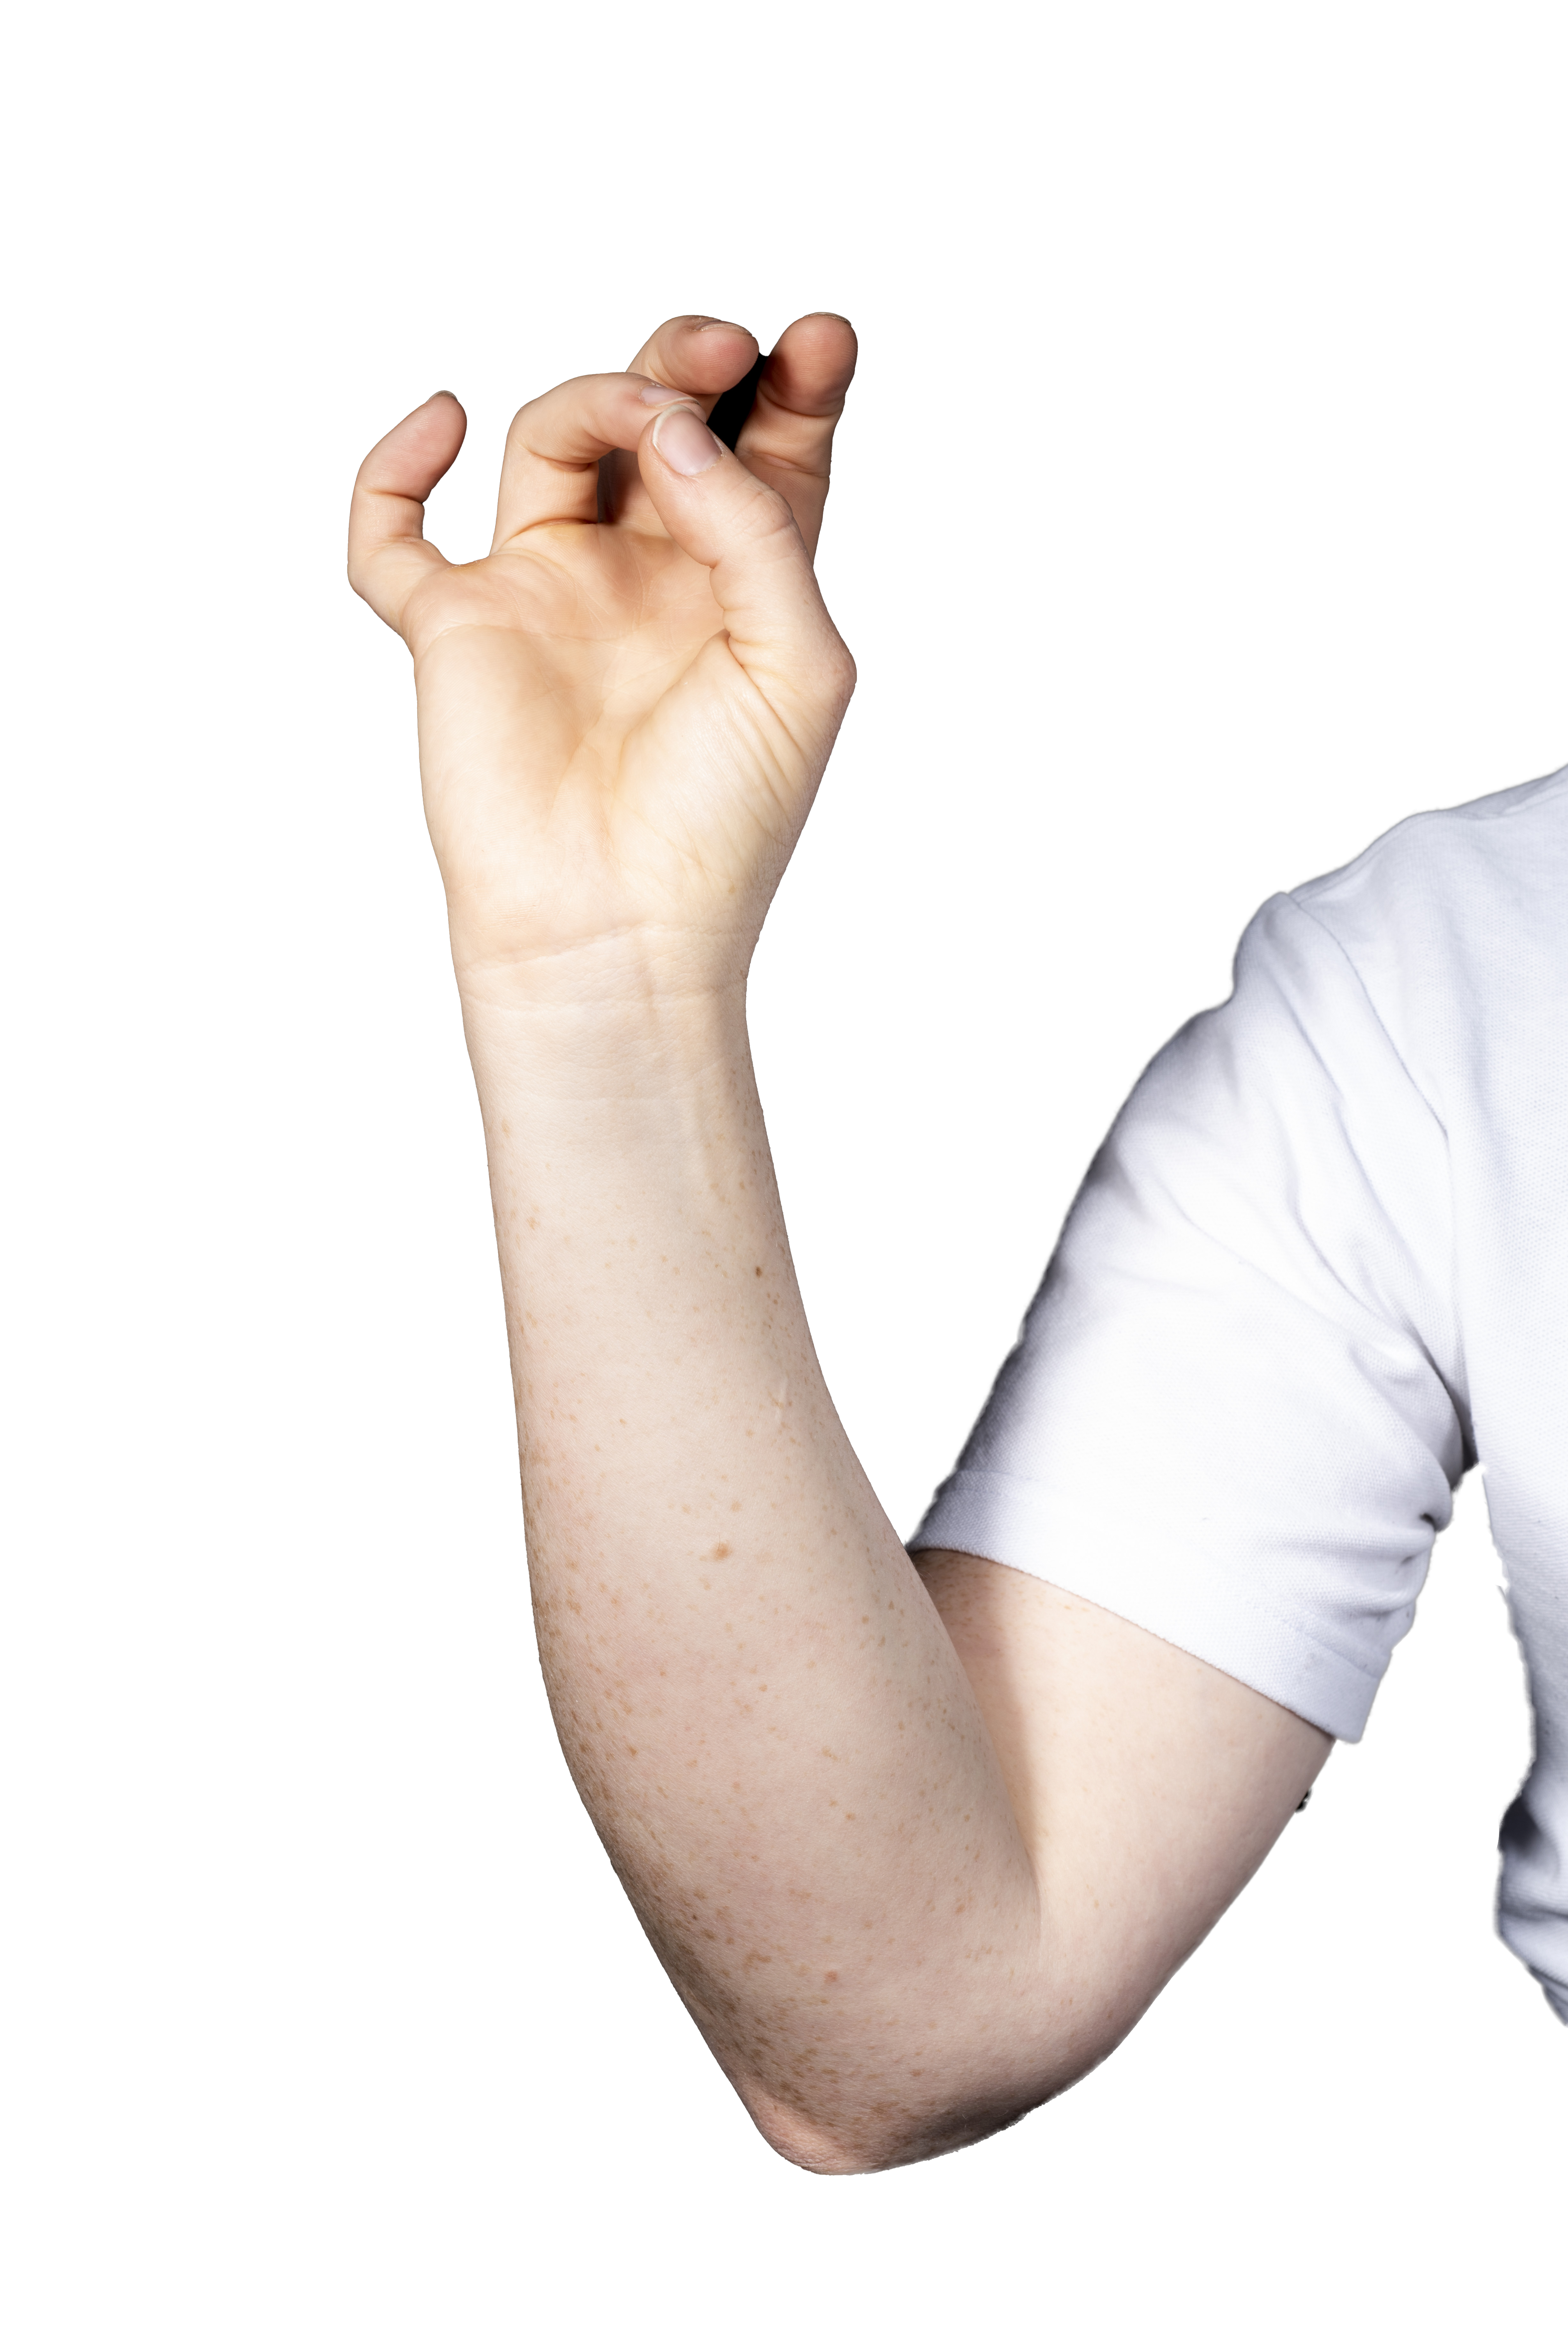
4) Hold your thumb below the joint to be exercised (4a). Bend (4b) and straighten the upper joint 10 times.
-
-1689936469.jpg) Exercise 3
Exercise 3 -
 Exercise 4a
 -
 Exercise 4b
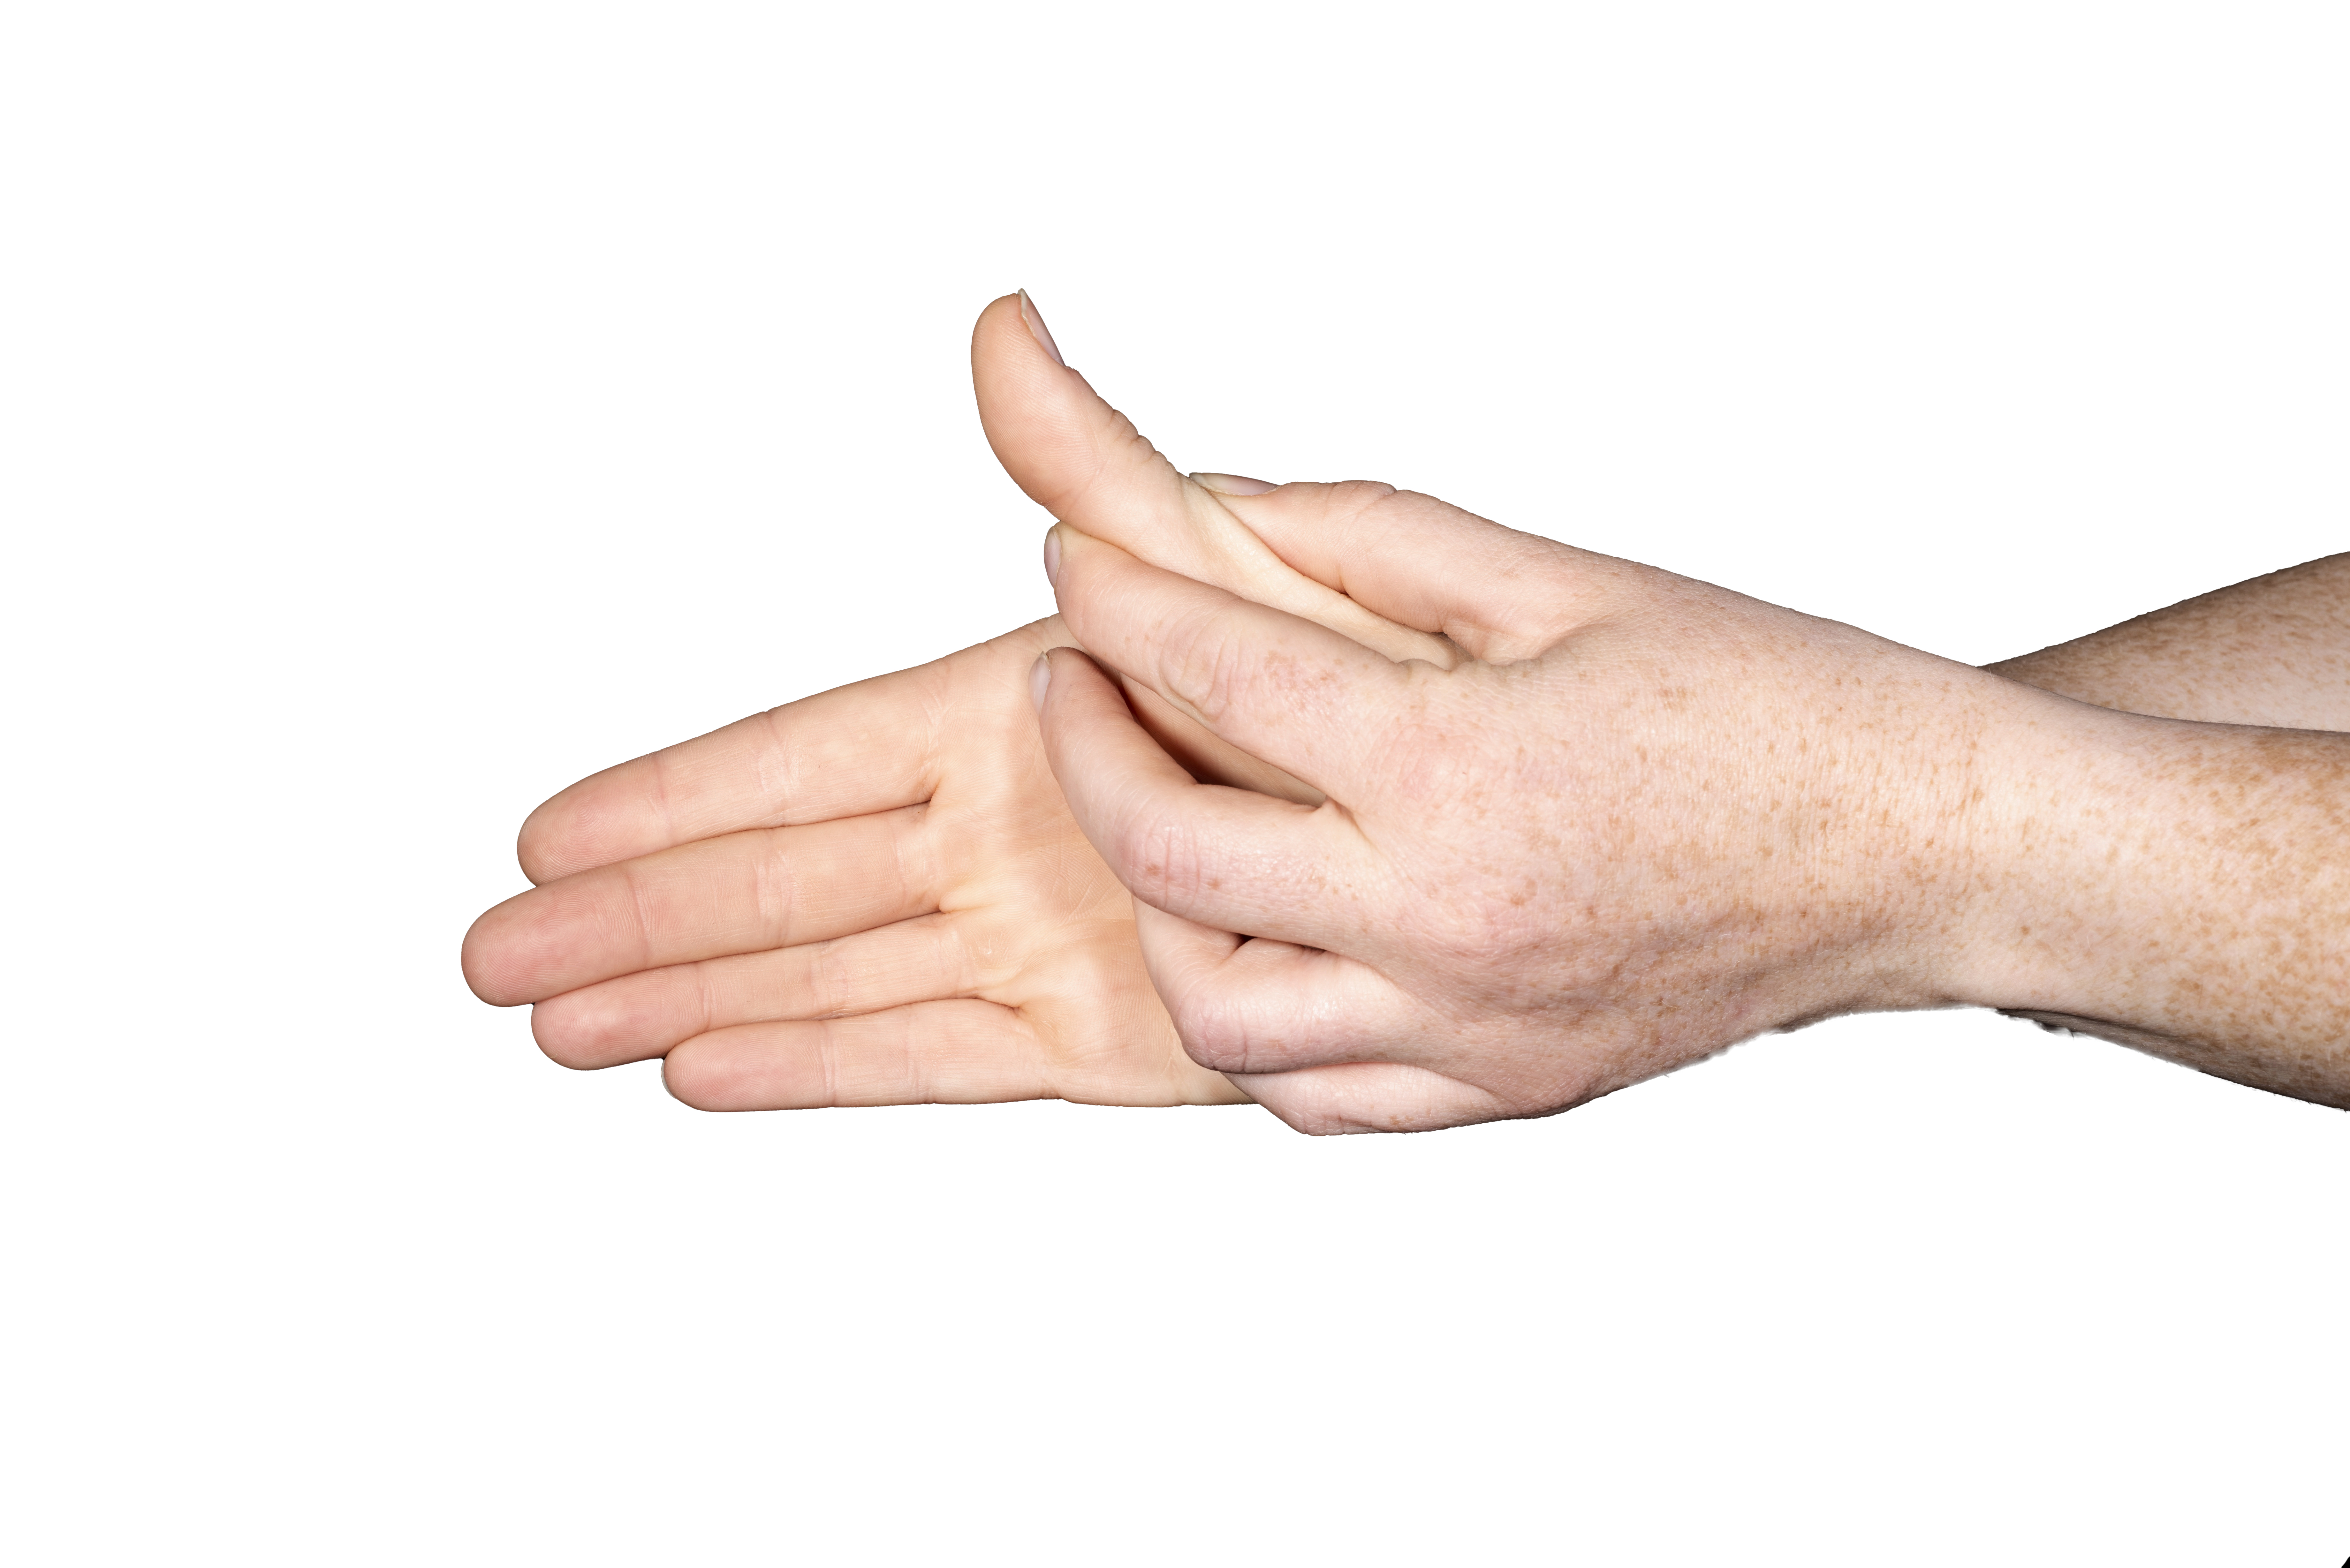
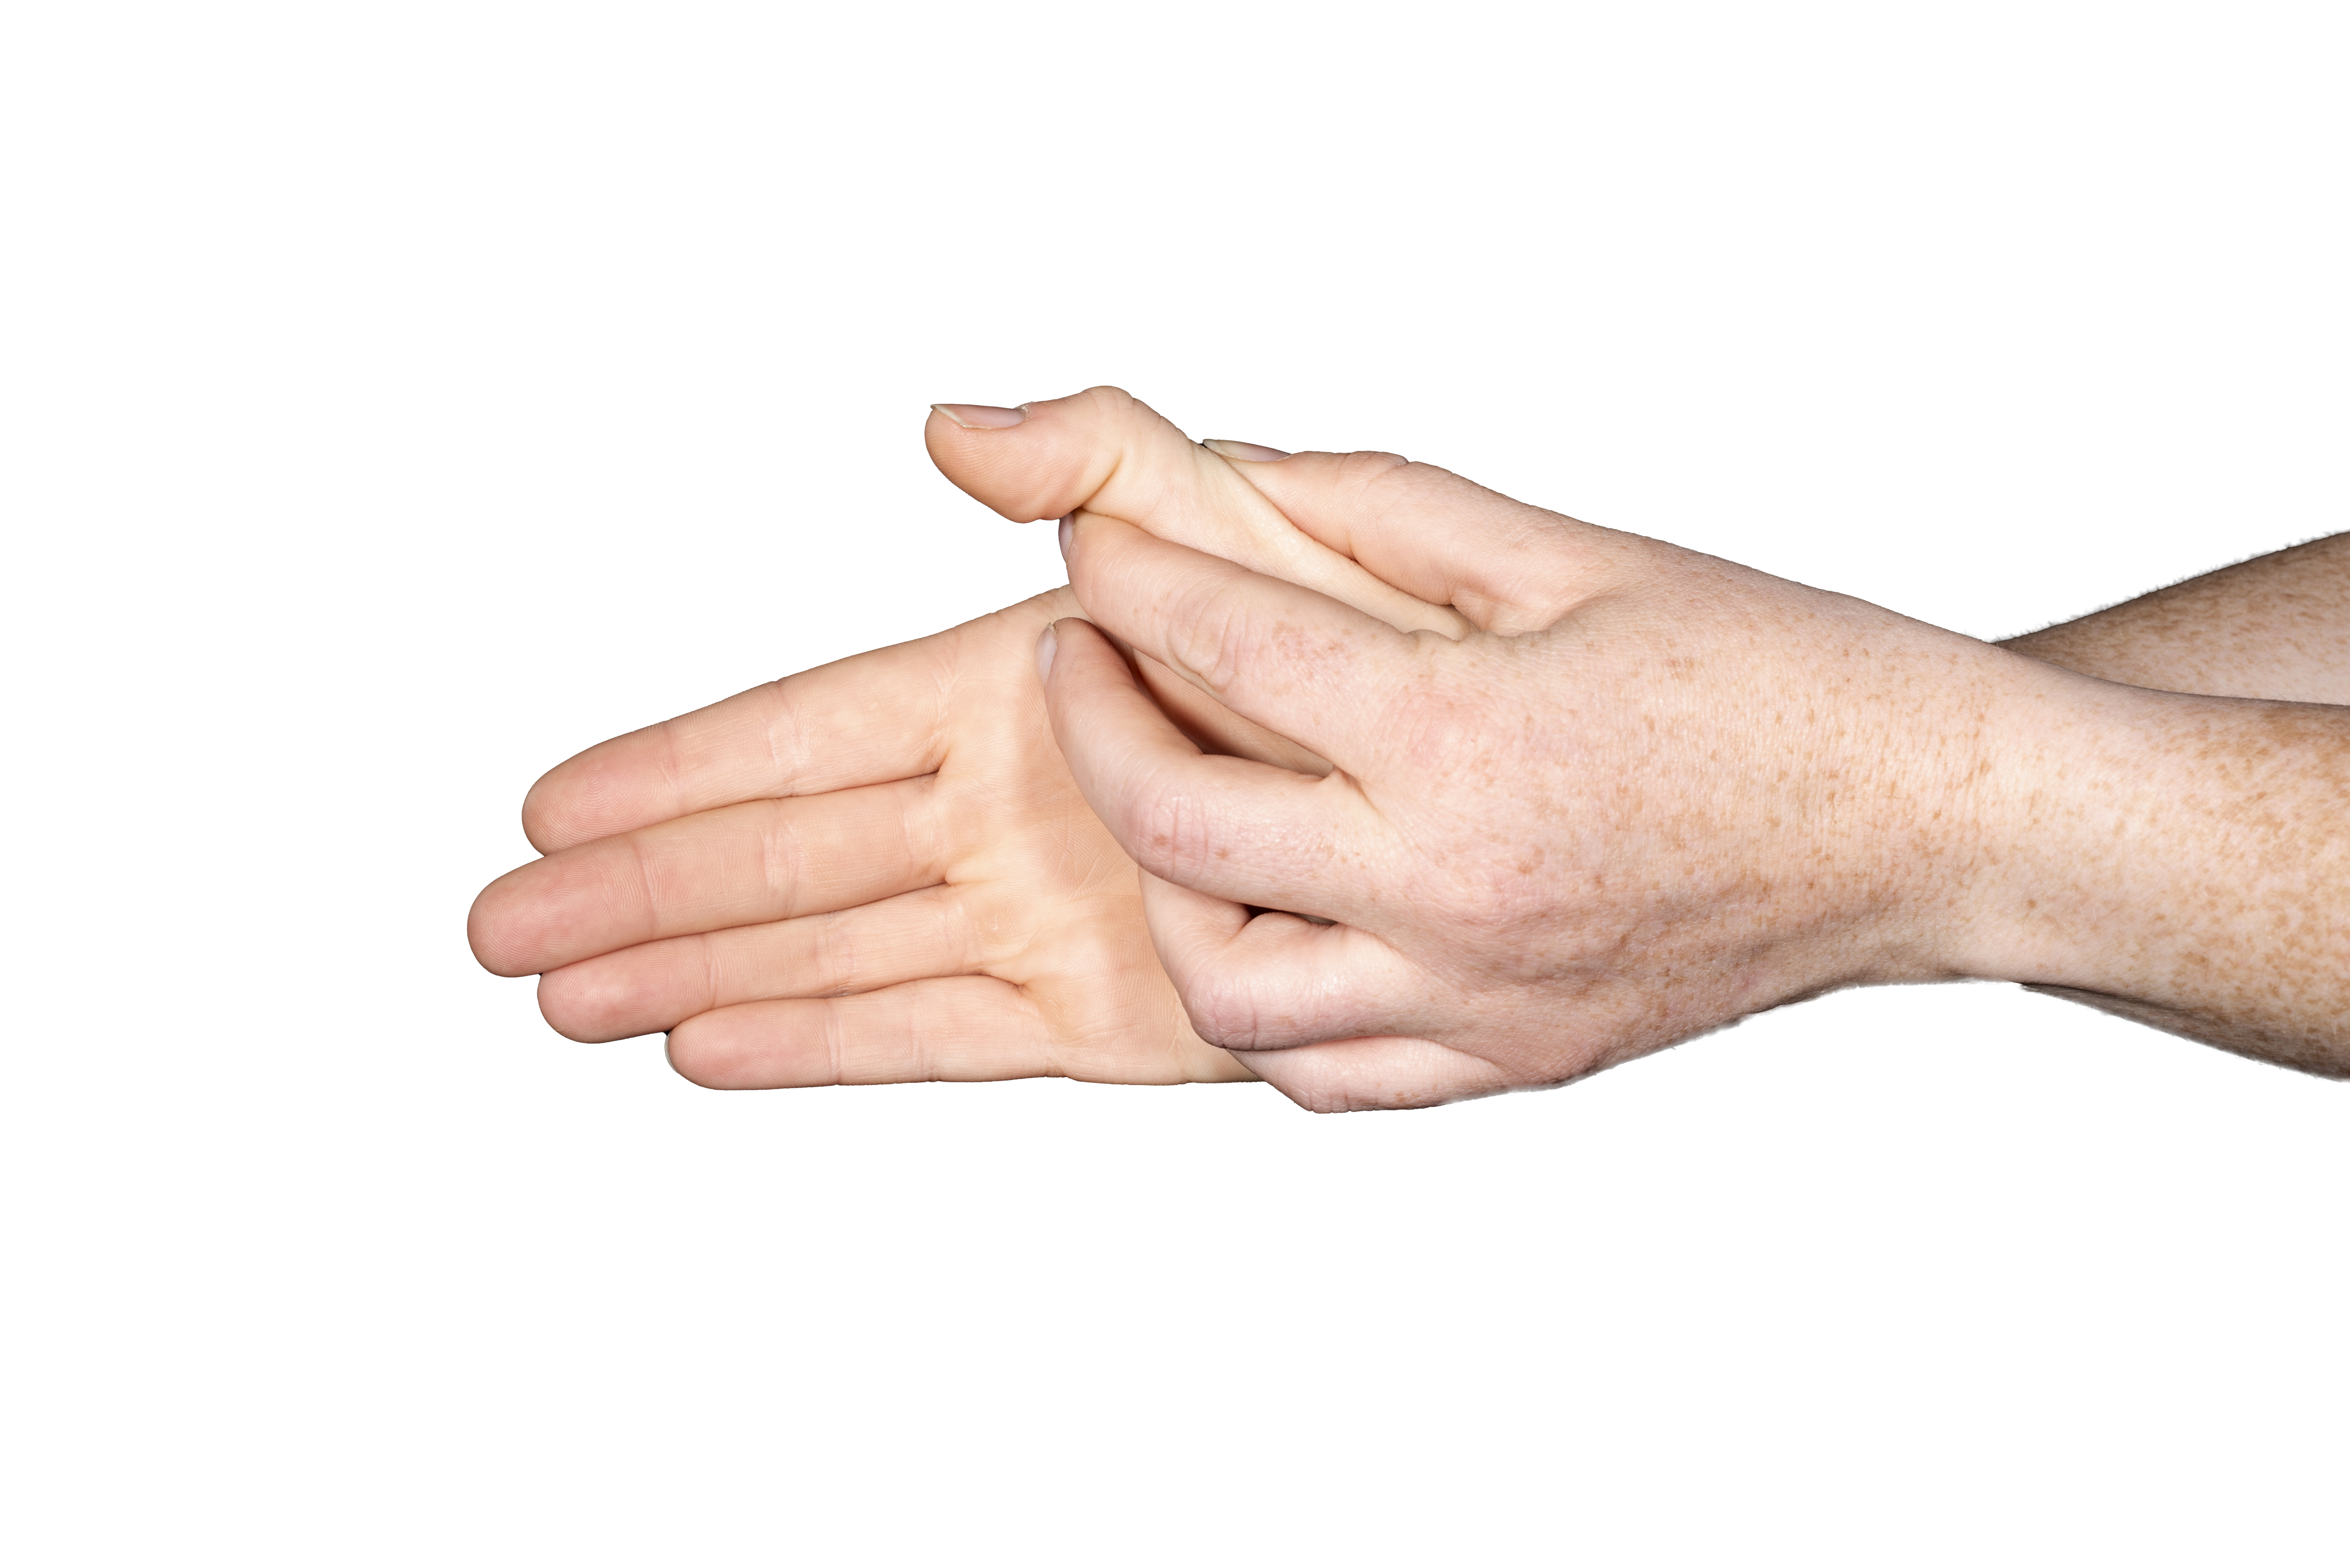
5) Touch the tip of each finger one at a time with your thumb. Complete this exercise 10 times.
-
 Exercise 5
 -
 Exercise 5
 -
 Exercise 5
 -
 Exercise 5
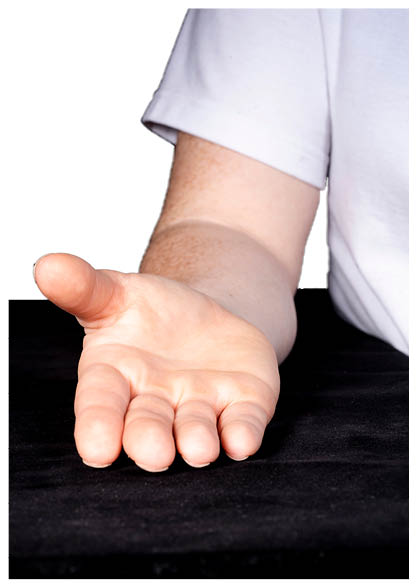
6) Place your hand flat on a table (6a). Try to move your thumb away from the rest of your hand (6b) and back again (6c). Complete this exercise 10 times.
-
 Exercise 6a
 -
 Exercise 6b
 -
 Exercise 6c
7) With your hand on its side (7a), move your thumb sideways away from your palm (7b) and back in again (7c). Complete this exercise 10 times.
-
 Exercise 7a
 -
 Exercise 7b
 -
 Exercise 7c
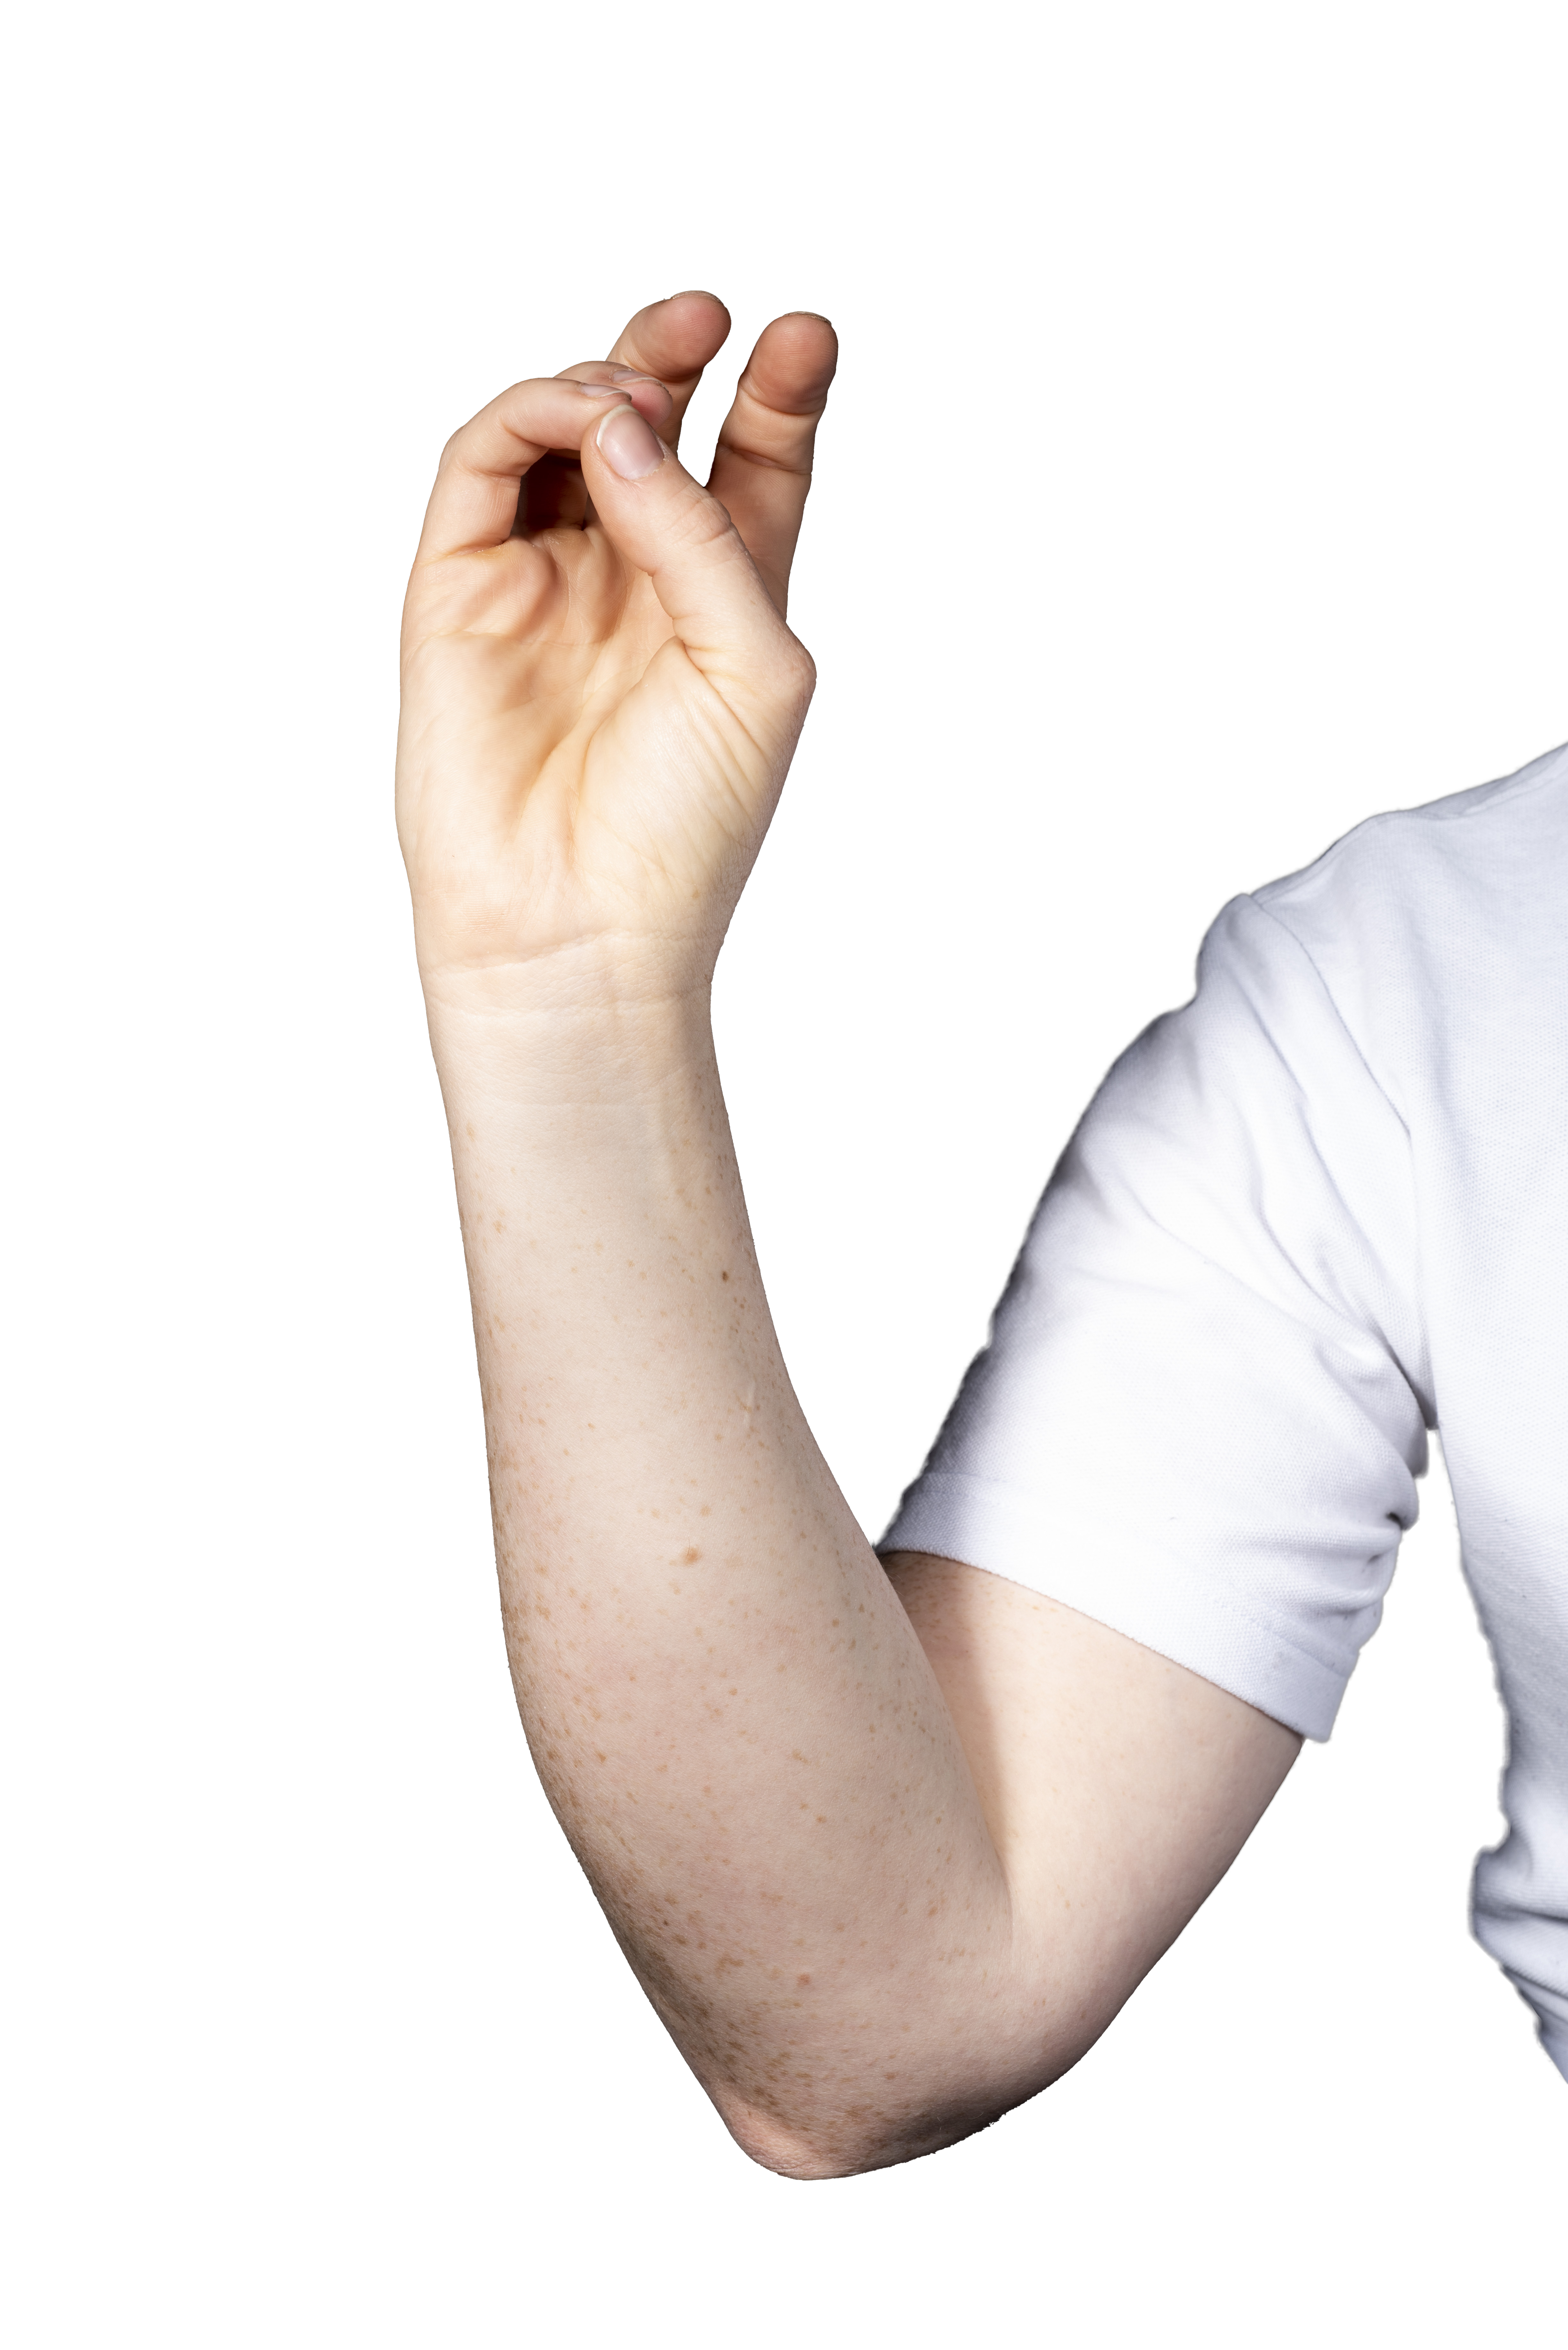
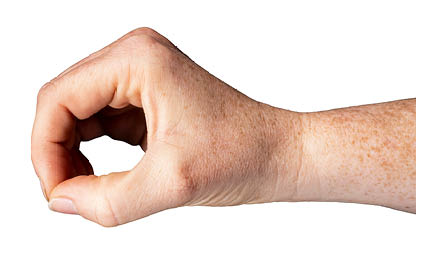
8) Place your hand on its side on a table, with the tip of your thumb touching the tip of your index finger. Try to roll your thumb, moving from a ‘D’ shape (8a) to an ‘O’ shape (8b) between your thumb and index finger. Hold for three seconds. Complete this exercise 10 times.
-
 Exercise 8a
 -
 Exercise 8b
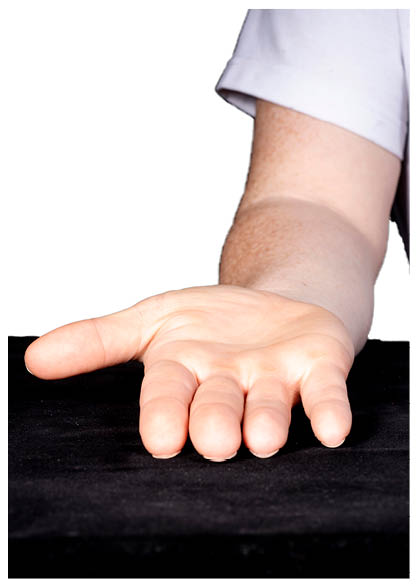
9) With your palm up flat on the table (9a), try to flatten your thumb back, so that the back of your thumb touches the table (9b). Complete this exercise 10 times.
-
 Exercise 9a
 -
 Exercise 9b
It is normal for these exercises to be uncomfortable, but they should not cause pain. If they do:
Try more gentler / smaller movements, with less repetition. Build up slowly.
If your wound has healed fully and the dressings are off, you can do the exercises after warming your hand up in warm water or using a heat pack. This can help with pain and stiffness.
Exercises: four to six weeks after your surgery
At four weeks add the following exercise to those listed above.
Complete this exercise three times, 10 times a day.
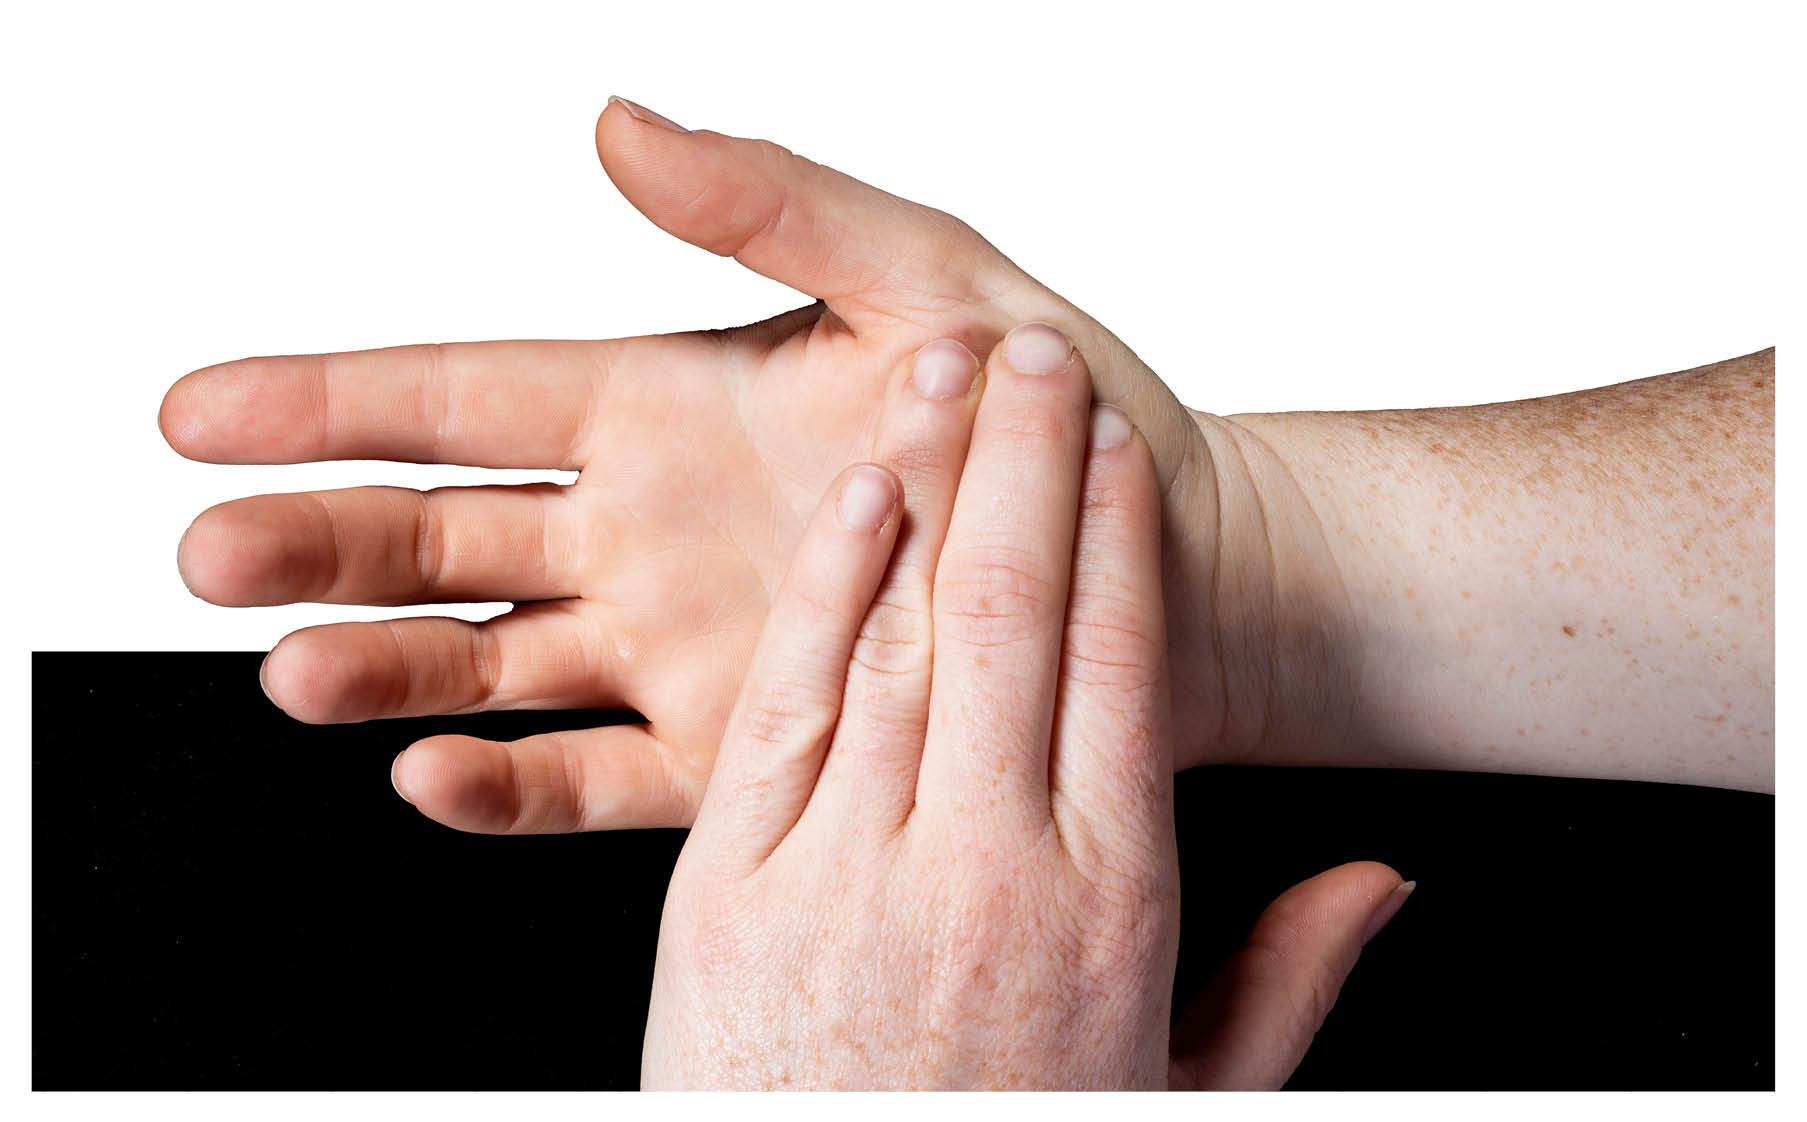
Hold your hand and forearm palm up. Using your other hand, stretch your affected thumb out to the side, away from your palm, pulling from the base of the thumb. Hold for 10 seconds, and repeat three times.
Exercises: six to 12 weeks after your surgery
At six to 12 weeks add the following exercise to those listed above.
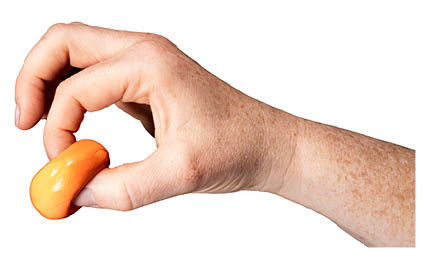
Place your hand on its side on a table, with the tip of your thumb touching the tip of your index finger. Try to roll your thumb, moving from a ‘D’ shape (1a) to an ‘O’ shape (1b) between your thumb and index finger. Hold for three seconds, complete this exercise 10 times.
You can use playdoh, a sponge, or a light stress ball (1c) to help with this.
-
 Exercise 1a
 -
 Exercise 1b
 -
 Exercise 1c
With the advice of your therapist or doctor, your splint is removed during the day. Keep the splint on at night until eight weeks after your surgery.
After week six, you may use your hand for very light activities only (do not lift anything heavier than 0.5kg to 1kg in weight). Be careful of activities that involve lateral key grips (such as using a key, or holding a book, newspaper, or plate)
Increase your level of activity as shown by your therapist, but do not do more than your pain allows.
Avoid heavy pinch grips (for example holding a book open or tearing open packets) until 12 weeks after your surgery.
Continue scar massage (as shown to you by your therapist). Your scar may will feel tender; this is normal.